Yeah I wondered if that post title would fit…haha!
So I didn’t put this up yet because we still have a few touchups to do on the surrounding walls and in the lines as well. But Michael and I spent the first day of back to school together because he’s such a dear man and took the day off of work in case I had a mental breakdown (like the last 3 years…cough*) the day the kids went back to school.
This year our little girl started Kindergarten and the young man of the home crashed landed into 2nd grade. The time is just flying right on by. But we are trying to make the most of it while we’ve got it so we threw a few things around as to what we would do with our quiet day and we stumbled onto kids rooms makeover! Yes we did. And we did it up kinda nice I think.
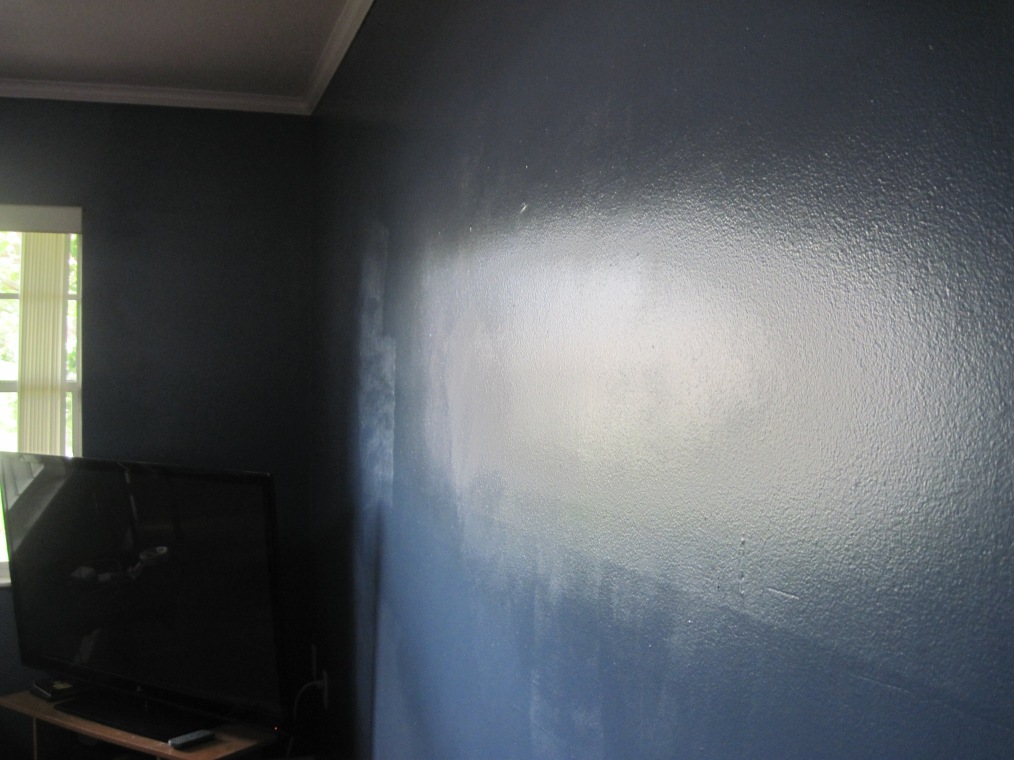
For little mans room we started with a blank blue wall. The one that has his doorway on it so that when he walked into the room his back would be to it and it would be a pleasant surprise when he turns around everyday.

Hello bare wall – prepare to turn awesome!
It took a few weeks to decide on what to put on his walls and in the end we decided on a chevron pattern. You know, the zig zag or the Rolling V pattern as I like to call it. And to accomplish this look we used painters tape, a level, a ladder, a measuring tape and a wwwhhhooooooooooooole (whole) lotta patience. Here’s the pattern we made and how.

1. Measure out your pattern with a level or with a steady eye and a steady hand. Or a ruler. Yeah, that’ll work too.

2. Add your tape from points to points. Use a pencil to make your points because they are easy to cover and erase.

3. We took our razors and then cut out the tape around the design. See the removed tape just stuck to the wall?

4. Above you will see the remaining tape and the part where we painted the white into the design.
And here are a few after shots when it was all said and done…


There are still a few things left to do for the wall and the surrounding walls as well. What I thought – and tried to sell Michael on – would be a 2 hour job turned out to take almost 6 hours to complete. We were still pulling tape off and putting the finishing touches as best we could before we had to run out and pick up the kids from school.
We need to still touch up some paint lines that got onto the other 2 walls due to some hurrying on my part. I plan on tackling that sometime this week. I dub this week “Get the painting done finally!” on the walls that really need it. I’m talking to you too living room!
Oh well. Whatever. Whenever.
This was a project that was fun to tackle together and I wish that I filmed the kids reactions to their new wall art, but alas it’s locked into my cranium for my rocking chair days. Let’s just say there were alot of shrieks, giggles, jumping up and down, and flailing of arms. Oh and the kids were super happy too. 😉
We still have another room project that we tackled the same day to share with everyone and I’ll get that posted soon too. But in the meantime I hope you liked this one. I am still shocked that we pulled it off in one day. We did a working lunch so as to not lose time. That helped.
You can do this too! Or have you done this already? Let me know if you have or want to and send us pictures if ya got em!


