We’re diving into finishing our office flooring situation. We are laying down Brazilian Cherry laminate wood flooring. It’s tremendously delicious! It has this deep dark woodsy matte finish that we just died for when we saw it at our local flooring store. Well, not so local – the place was 30 minutes away, but still so worth it because the flooring was on sale at .89 cents/sq. ft.! Whaaaaat???? Yes please and can I have some more?!
Here is a picture of it in all its glory after we fitted our living room with it…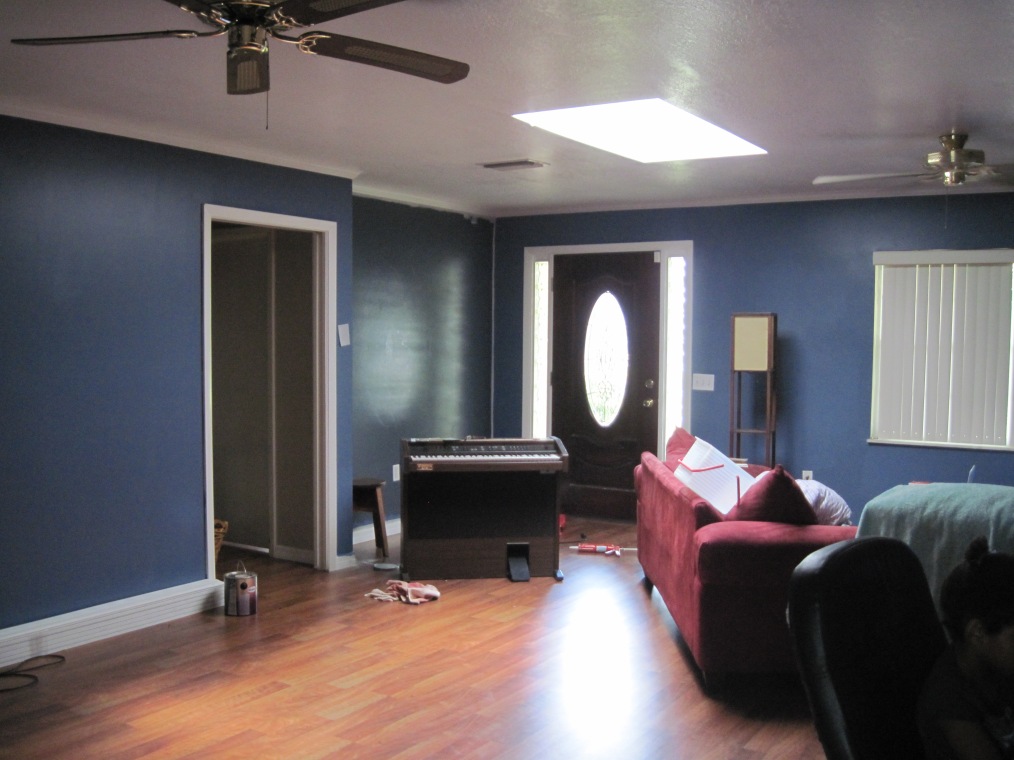 We were in the middle of painting that nooked wall gray. It turned out nice. We’ll share it one day with y’all.
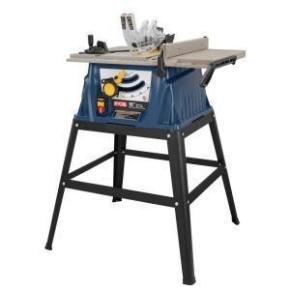
And so like I said we are laying this same exact flooring down in the office. So we put our new Ryobi Table Saw up in the room to make our quick cuts in the office and cut down on sawdust traffic in the living room because originally it was in a room all the way across the house. Now when we started it up, after a few cuts smoke was coming out of it and we were all like “What’s up with that?!” so we shut it down for the night and regrouped the following day. Oh this all happened this last weekend by the way. So Michael goes off to work and I go ahead and try to tackle the mystery box that is our table saw. We bought a cute little meaty Ryobi Table Saw + Stand Model RTS10 in case you have the same one and come across this same issue or in case you are looking for a new one.
Here’s the rub. I had to change the saw blade on the table because the one that was on there was from a previous friends project and we had lent the table to them to use. So off I go with my handy dandy manual and my brains and my goggles and mask all ready to get this thing done when I realized that the manual can get kinda murky at times. Like take for instance p. 19 of the owners manual…(read it below or scroll to p.19 in this link to the manual)
—————————————————————————–
TO CHANGE BETWEEN A SPREADER AND A RIVING KNIFE
See Figure 12.
This saw is shipped with the spreader/riving knife placed in the non-through cutting or “down” position (riving knife position).
NOTE: The spreader/riving knife must be placed in the through cutting, or “up” position (spreader position), for all other cutting operations.
Unplug the saw.
To place in spreader position (or “up” position for all through cutting): Remove the throat plate.
Raise the saw blade by turning the height/bevel adjusting handwheel clockwise.
Unlock the release lever by pulling it up.
Grasp the spreader and pull it towards the right side of the saw to release the spreader from the spring-loaded riving clamp.
Pull the spreader up until the internal pins are engaged and the spreader is above the saw blade.
Lock the release lever by pushing the lever down. Reinstall the throat plate.
To place in riving knife position (or “down” position for all non-through cutting): Remove the throat plate.
Raise the saw blade by turning the height/bevel adjusting handwheel clockwise.
Unlock the release lever by pulling it up. Push the riving knife down until it is below the saw blade. Lock the release lever by pushing the lever down. Reinstall the throat plate.
RELEASE LEVER (UNLOCKED)
IN “UP” POSITION FOR THROUGH CUTTING
RELEASE LEVER (LOCKED)
IN “DOWN” POSITION FOR NON-THROUGH CUTTING
Fig. 12
———————————————————————-
Now do you see the last 4 lines that are highlighted? I did that myself and it doesn’t look like that in the manual. The choicest words that I was scratching my head over was “IN “UP” POSITION FOR THROUGH CUTTING” and “IN “DOWN” POSITION FOR NON-THROUGH CUTTING”. Now I thought that they were referring only to the release lever so I added the riving knife to the spreader however I didn’t lock the release lever by turning it into the down position because I thought “Hey I’m making through cuts with my wood and it says leave in the up position for through cuts right?” (I know that sounds ditzy but I’m a super visual person and you have GOT to see the figure pictures on page 19 and then you will see that I am not completely crazy for thinking they were talking about the release lever – it’s veddy veddy tricky that manual)
I WAS WRONG!!!!!! OOOOOHH SOOOOOO WRONG!!!! (and you saw table experts know where this is heading right?)
I put the goggles on. Check. I put the mask down. Check. Plugged in the table. Flipped on the switch. Blade starts up. I approach with my first board and the second it hit the blade would you believe it that the whole safety unit (blade guard, anti-kickback pawls AND the riving knife) went flying at me like a bullet! Thankfully I played JV and Varsity tennis in high school and have reflexes like a cat because I had to move like lightning to get out of the way of the shrapnel that flew off that thing! It all happened so quickly. I ended up with little bits of blade shard stuck to my upper arm which did no damage really but other than that I came out unharmed. I thank God that I am on this side of that incident alive and well to tell this cautionary tale. It could have been 100 times worse. After I was able to take my wobbly finger and turn off the blade I unplugged the whole unit and sat on the floor shaking like a leaf. And all I could think about was that touching episode from Extreme Makeover Home Edition of that young kid who liked to do home repair around the house for his single mom and one day he chopped his hand off with his table saw. True story. Poor kid. Just trying to do something nice. But my story has a different ending maybe because I wasn’t wearing a large leather coat while doing it? Ay, ay, ay….
I immediately called the Ryobi hotline # that was on the manual and by then (call #3) I’m sure the 3 people answering the phone were whispering to each other like “If it sounds like a young woman with no clue just give her the runaround and hope she starts crying and hangs up in frustration.” I got “Georgie” on the phone and between my bad reception and his thick syrupy southern drawl we got absolutely nowhere. By the end he was just agreeing with me to get me off the phone I think. “Mmmhhmm…yep…sounds like you got it….if not then call us back….yes ma’am…..” I hung up frustrated but sans tears and not completely defeated. There was only one logical thing I could take away from that last phone call and it was
“Do you have a Home Depot nearby?”
“Yes I do.”
“Well why don’t you go by there and look at their floor model and ask how they put theirs together.”
SOLD! I got the kids in the van lickety split and straight to Home Depot we went. Thankfully I had 2 guys that walked me through the process of putting the thing together – SAFELY – and in the end everything worked out. The moral of this story? ALWAYS LOCK THE YELLOW/ORANGEY COLORED RELEASE LEVER IN THE DOWN POSITION NO MATTER WHAT KIND OF CUTS YOU ARE MAKING!!!!! (was that too hard of a sentence to put in that there manual of yours Ryobi?)
Whew….I felt like I needed to write this post because when I was looking for information on this particular model I couldn’t find much weirdly enough out on the world wide web. So hopefully here is a little help for my fellow Ryobi 10″ Table Saw with Stand Model RTS10 owners out there. Holla if ya hear me!
This whole shrapnel deal happened just yesterday and I have pretty much worked my nerve up again to get back on that table saw horse and get that room done, but now I think I will start that blade up after a well placed prayer. And at lunch Michael begged me “Please don’t lose a limb I’m begging you!” So here goes nothing…
Anyones else a semi-newbie as well that can swap shrapnel stories with me? Any words of encouragement or caution that have still been left out of my owners manual?
Table saw pic source: www.cybuyguy.com


